Reindeer Garland or Bunting


I know Christmas decorating is about to be in full swing for most VERY soon, if it hasn’t already started! We will be moving back to the US after being stationed in Korea for a few years right before Christmas, so there won’t be any Christmas decorations exploding out of the storage tubs this year for us. BUT, I still wanted the apartment to feel at least a little “Christmasy” for the kids in the meantime!
Growing up I couldn’t wait to pull out the Santa sleigh with the little reindeer Hallmark figurine/ornament decoration each year, (1992 Hallmark collectible set)……..as my dear Mom knows, to this day it’s STILL my favorite and I love seeing it out each time we are home for Christmas! Where we are from a Santa sleigh with the reindeer cutouts are placed on top of the high school each year and Rudolph’s nose lights up, as a kid that was absolutely magical and might be a contributing factor to my love of reindeer decorations at Christmas! Continuing on with the reindeer……Can it even be Christmas time without watching Prancer!?!?!!? I think not!
Back to the project……this is such a cute, easy, and quick Christmas decoration and if you have little ones they can even get in on the fun helping with the antlers, gluing, or even sewing! With all of the cute bias tape prints/patterns out there now you can even customize it more. I absolutely love how the black/white check looks with the reindeer and lights!
Reindeer Garland/Bunting Materials:
Double fold bias tape, 1/2” wide
Felt- brown and red, orange, yellow, green, blue for lights
Assorted googly eyes
{9} brown pipe cleaners
{1} large red pom-pom
{8} large black pom-poms
thread to match bias tape
sewing machine
hot glue gun
*REFERENCE PHOTOS FOR STEPS ARE BELOW*
Cut 9 triangles (~ 4” at base) from brown felt and 10 lights (~ 1.5” at base) from assorted felt colors; printable pattern piece available at bottom
Measure where you would like the bunting to hang to see how long to cut the bias tape OR for Christmas tree garland use the full approximately 3 yard length in one bias tape package (this leaves extra at each end to help with hanging)
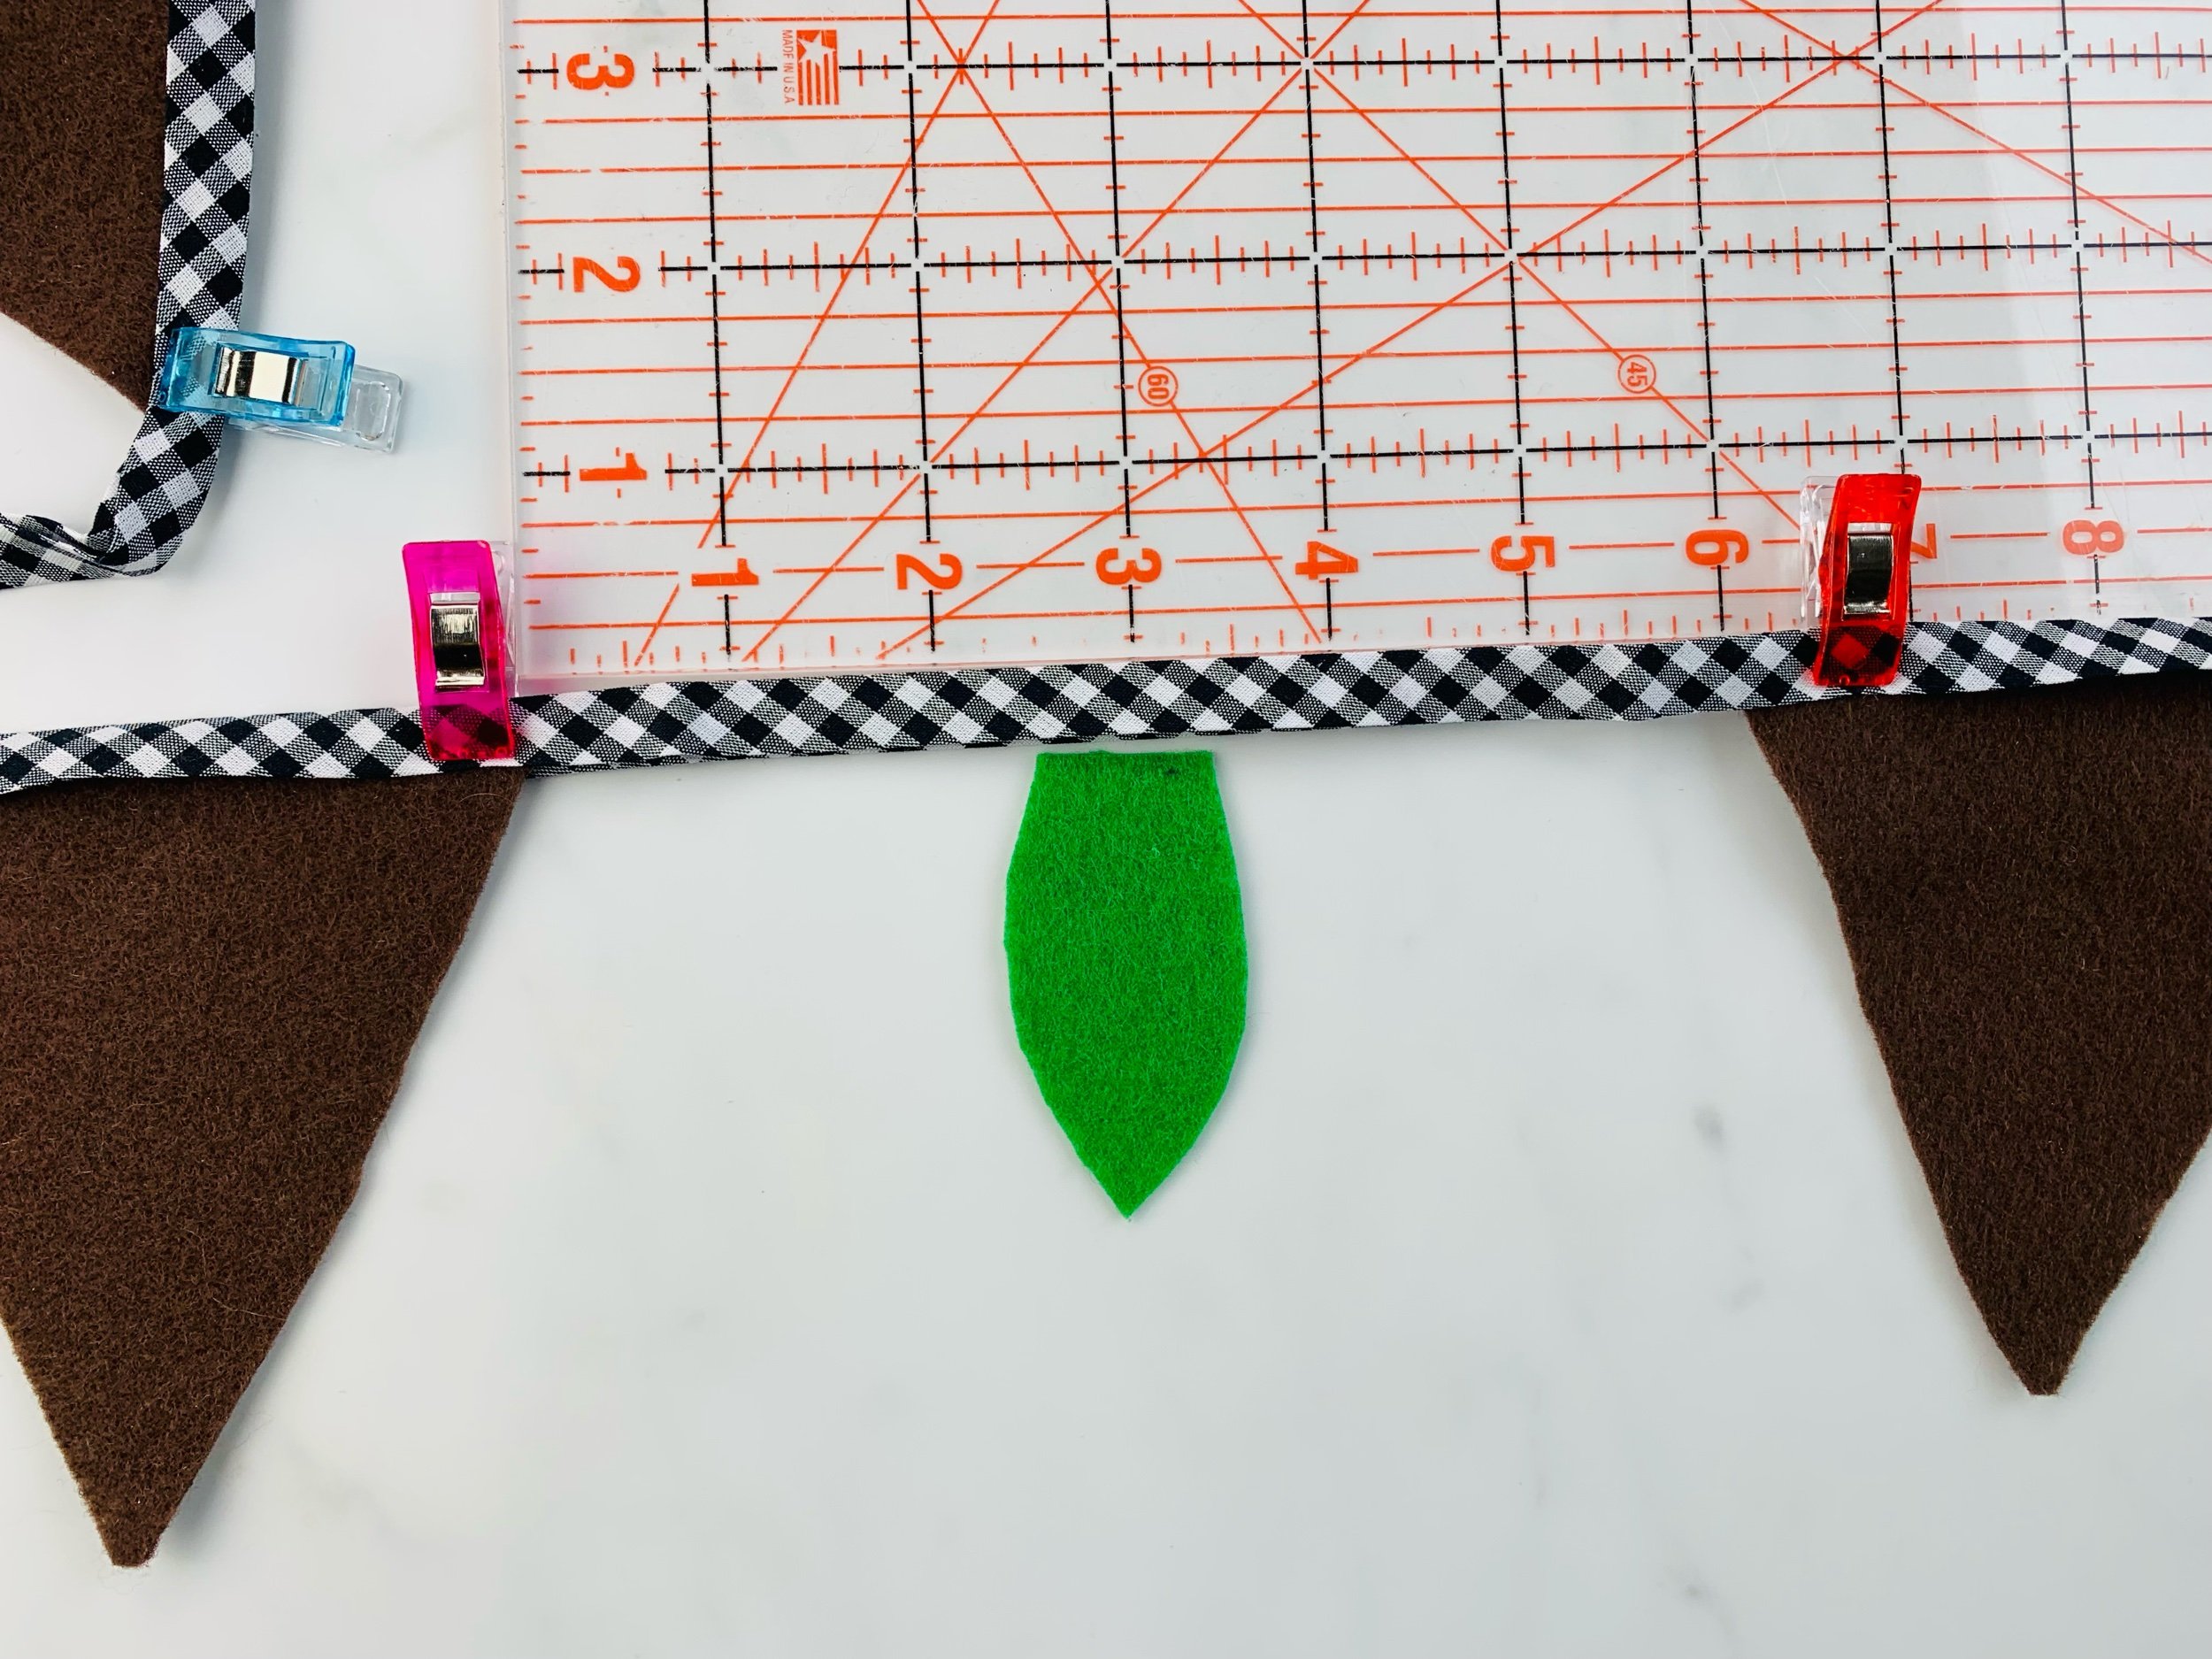
GARLAND (buffalo check bias tape in photos)- find the center of the length of bias tape, open bias tape and center first brown felt triangle at the center point of the bias tape; close bias tape over top of triangle felt piece and clip
Measure over approximately 6 inches from the edge of triangle, this will be where next triangle is placed, repeat with 4 triangles on each side of the first
After all “reindeer” triangles have been clipped, place one light between each triangle and clip in place
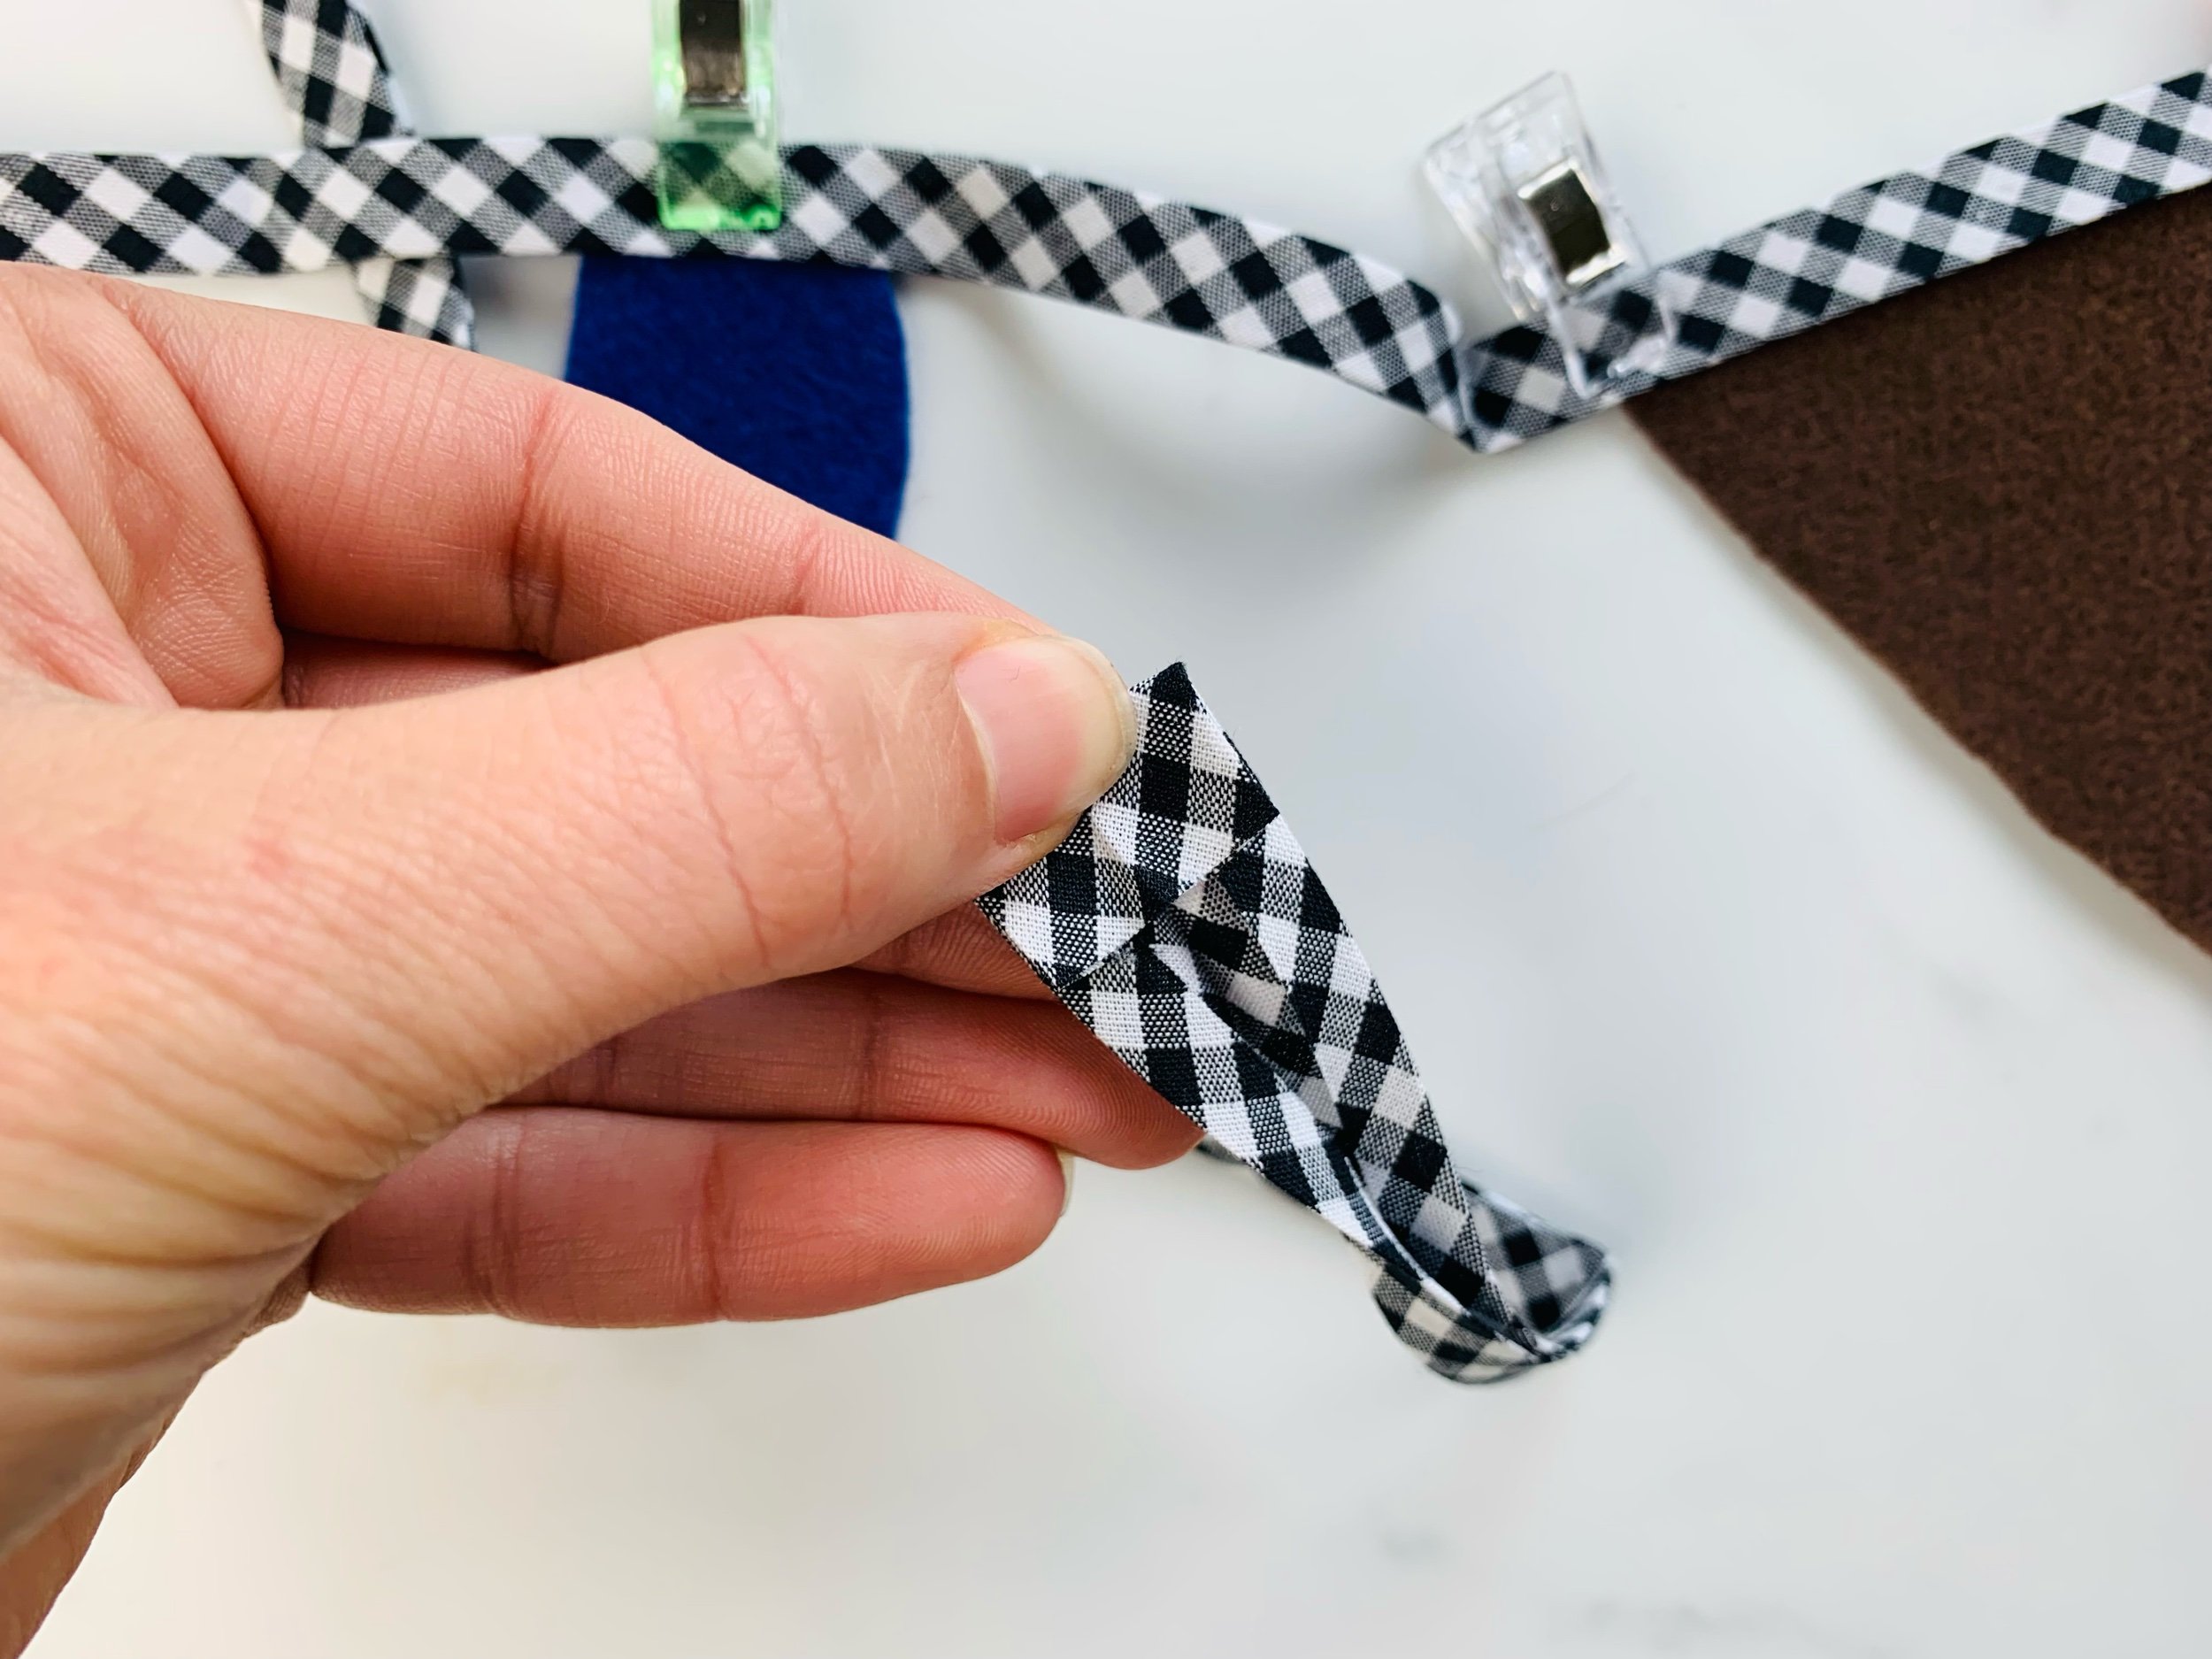
Open each end of the bias tape, fold the edge over 1/2” into the inside, fold closed, clip
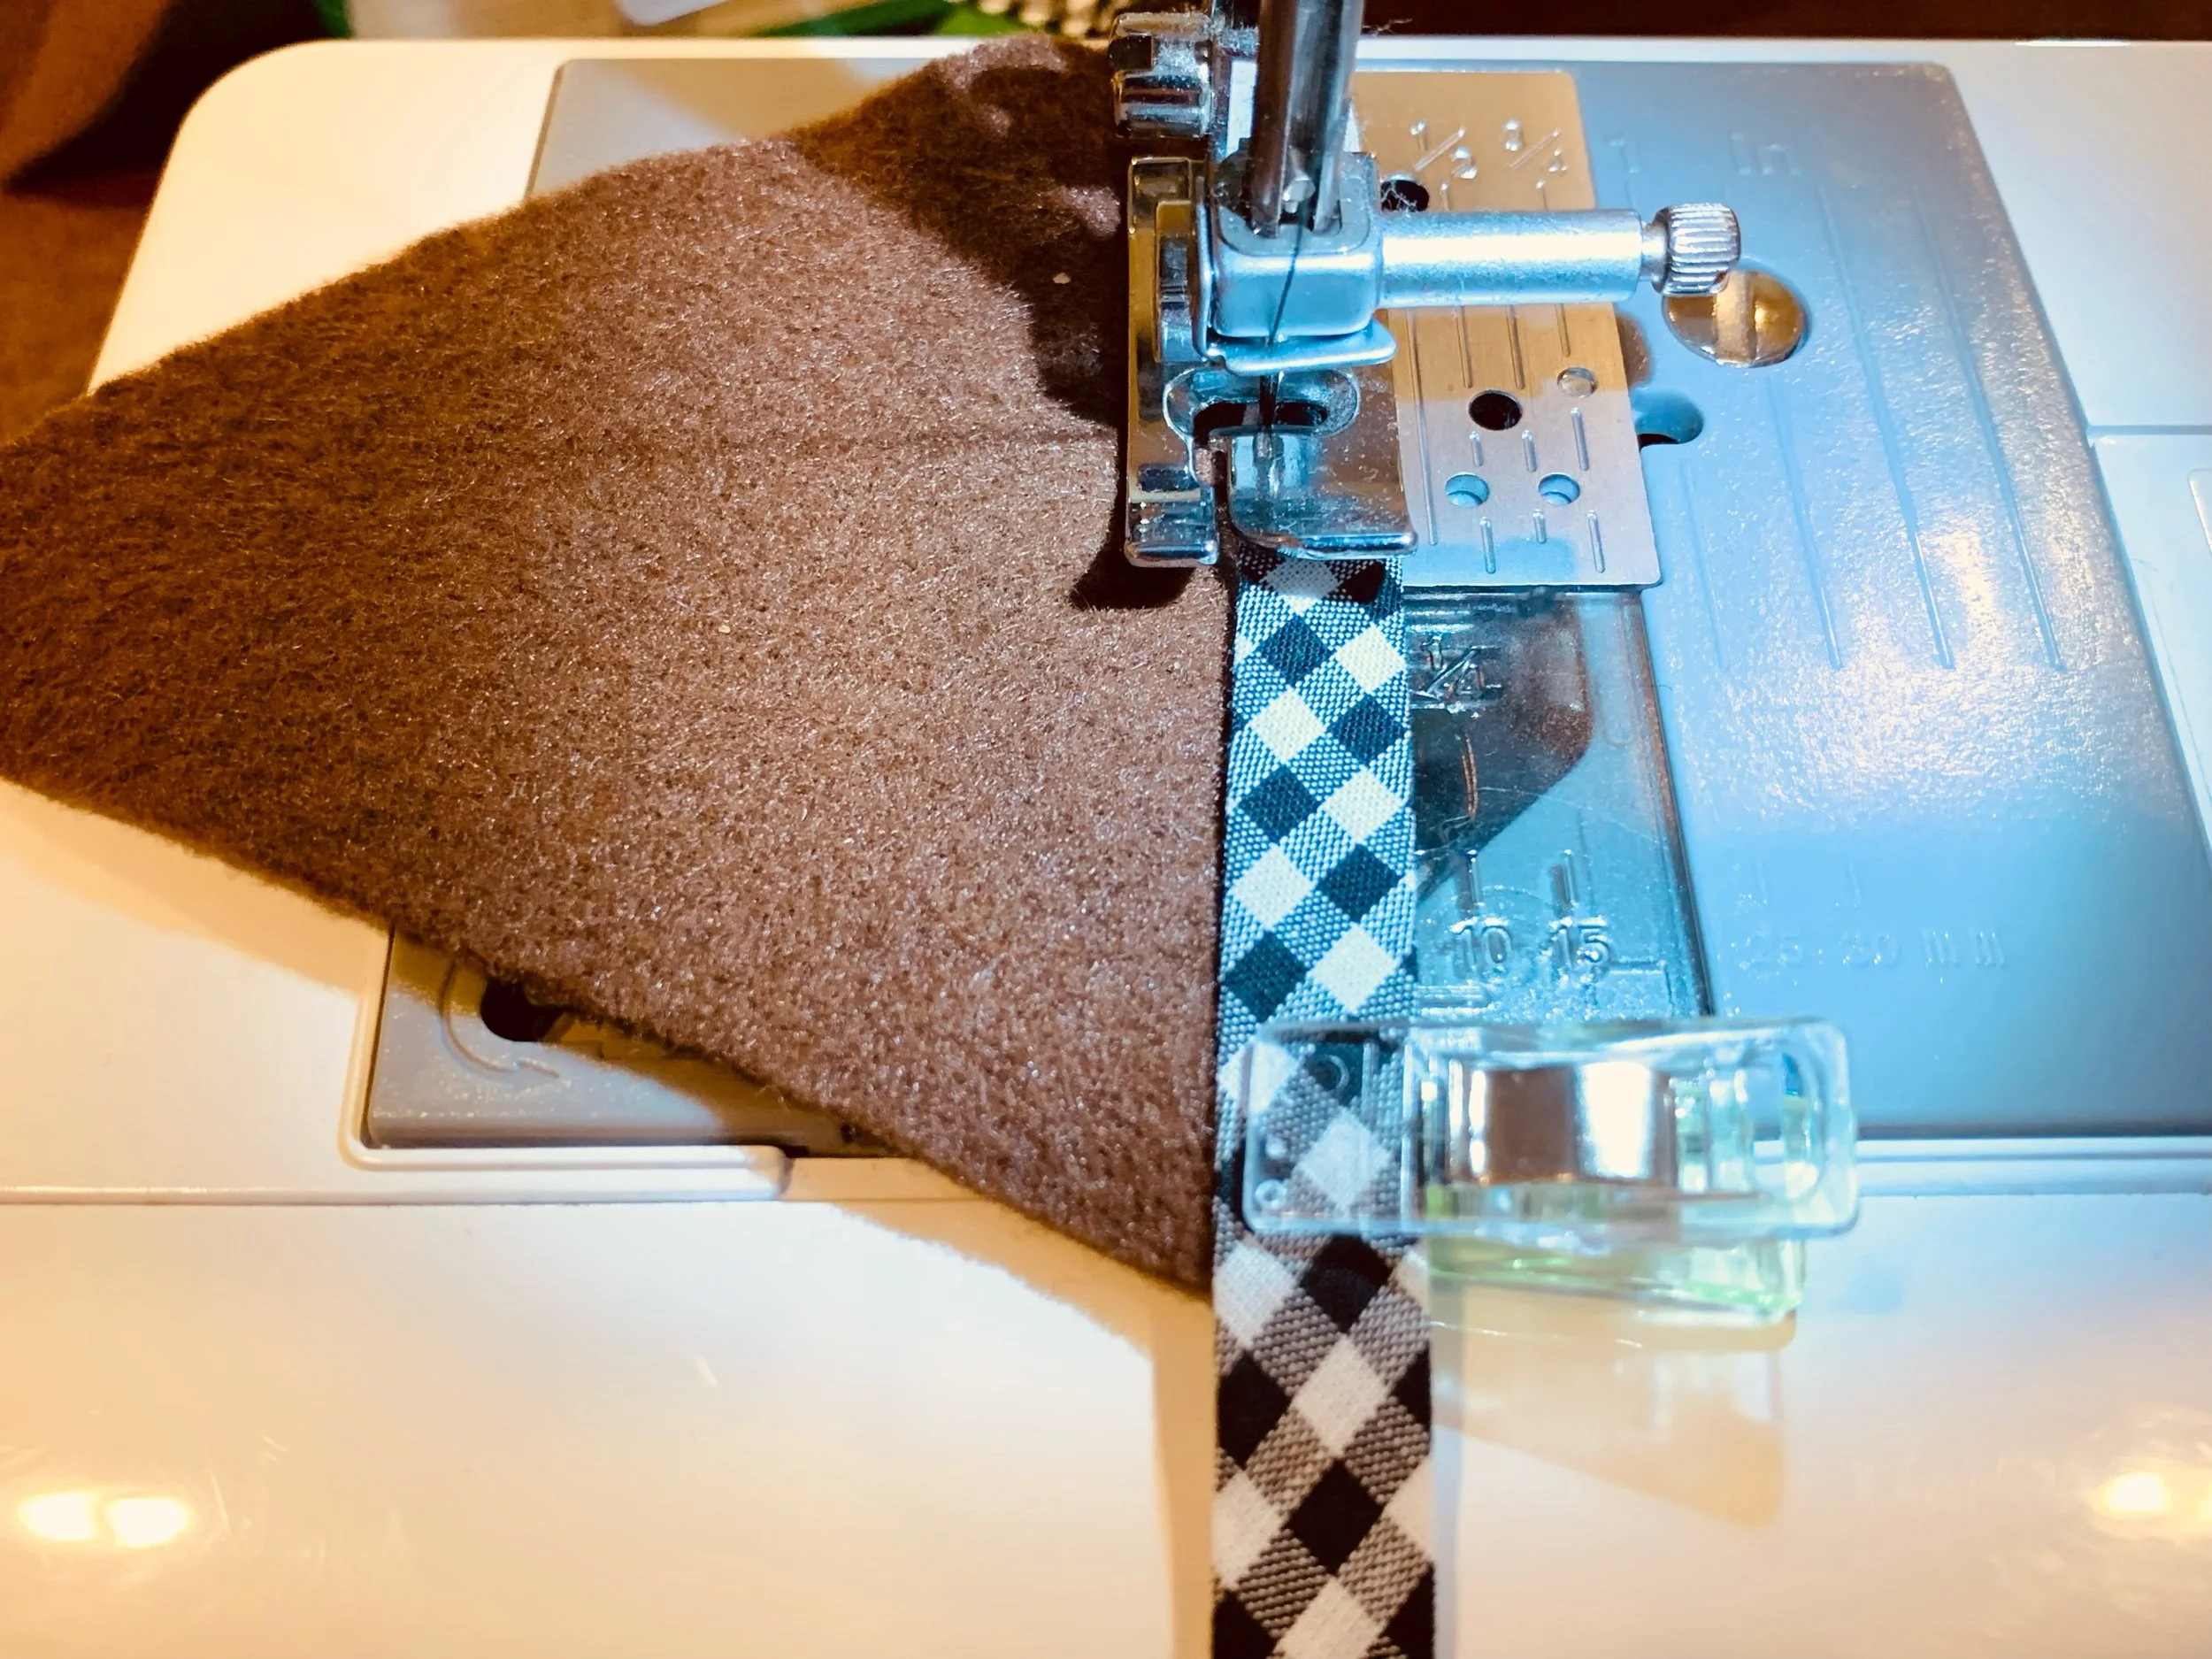
Sew as close to the open edge as possible with coordinating thread, make sure to back stitch at the beginning and end
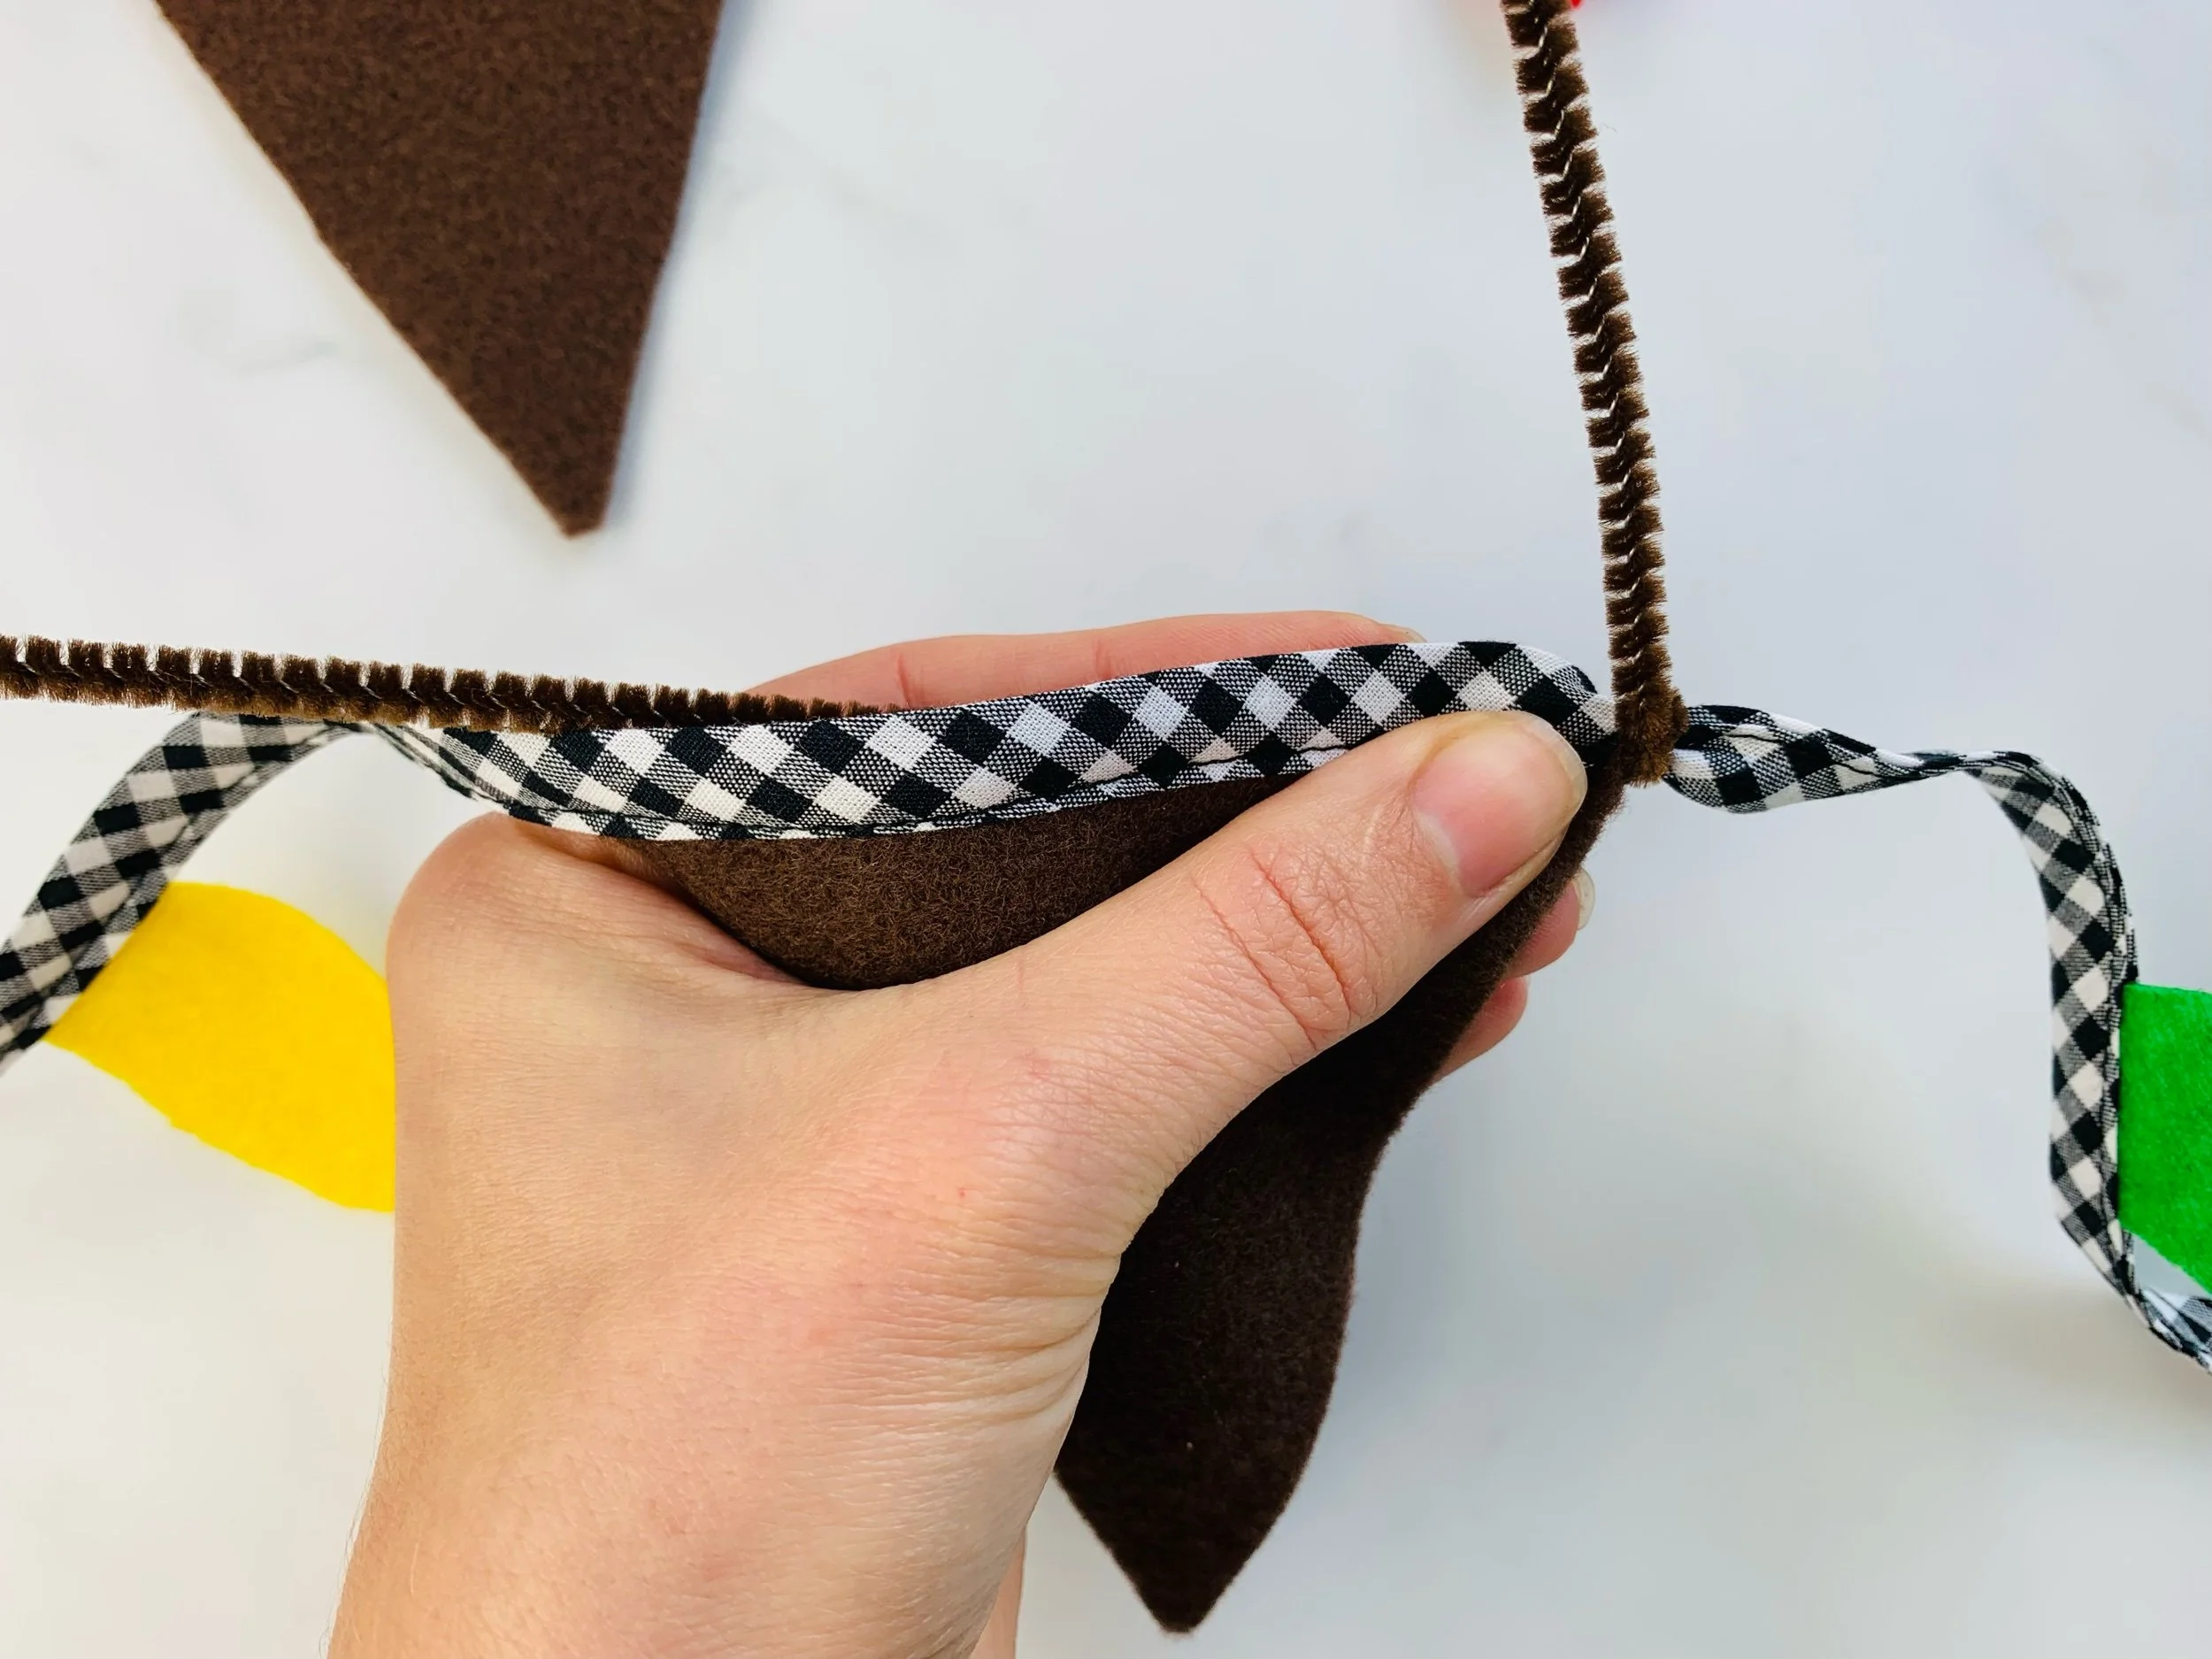
Take one brown pipe cleaner and hold it behind the felt triangle, fold the pipe cleaner towards the front and wrap around one full time; repeat on second side and all remaining triangles
Bend each pipe cleaner to resemble antlers
Use hot glue to glue googly eyes and pom-pom noses on each reindeer
BUNTING (green bias tape in photos)- steps will be the same as garland, except spacing will depend on the length you are doing; I did 6.5’ (85”) of bias tape, triangles were spaced approximately 1.5” apart, and I decided to place lights at each end instead of between reindeer


Click photo to open/print pattern pieces